How to Use a Scientific Calculator for Trigonometry
Trigonometry calculator mistakes are usually not advanced math mistakes. They are input mistakes. A student may know the correct formula and still lose the problem because the calculator is in the wrong angle mode, the angle unit is not tracked carefully, or the expression was typed in a way that changes the structure. Once the workflow is clear, trig calculations become much more reliable.
That point matters because many students blame themselves for "not being good at trig" when the real issue is a preventable setup error. Trigonometry already asks you to think about angle, ratio, geometry, and interpretation. The calculator should reduce friction, not create more of it. To get that benefit, you need a clean system for using it.
Applicable Use Cases
Scientific-calculator trigonometry is used in right-triangle geometry, unit-circle evaluations, physics components, navigation problems, waves, and many introductory science classes. It is especially helpful when the focus of the question is setup or interpretation rather than exact special-angle memorization.
In practical terms, the calculator becomes valuable once the math structure is already known. If you know a problem requires cosine because it relates adjacent side to hypotenuse, then the calculator is the right place to evaluate the number. If you do not know which trig ratio applies, pressing buttons faster will not fix the underlying issue.
Core Ideas
The most important idea is angle mode. In degree mode, familiar school results such as sin(30) = 0.5 hold as expected. In radian mode, the same input means 30 radians, not 30 degrees. That single switch can make a correct process appear wrong.
The second idea is function structure. The calculator is evaluating functions like sin(theta), cos(theta), and tan(theta). If the input is incorrect, the output can still look polished while being unusable.
The third idea is that trig calculator work should start with a known anchor or unit check. If you cannot explain whether the angle is in degrees or radians, or whether the answer should be positive or negative, then the calculator result has no good framework around it. Good trig students do not only compute. They predict.
Worked Examples
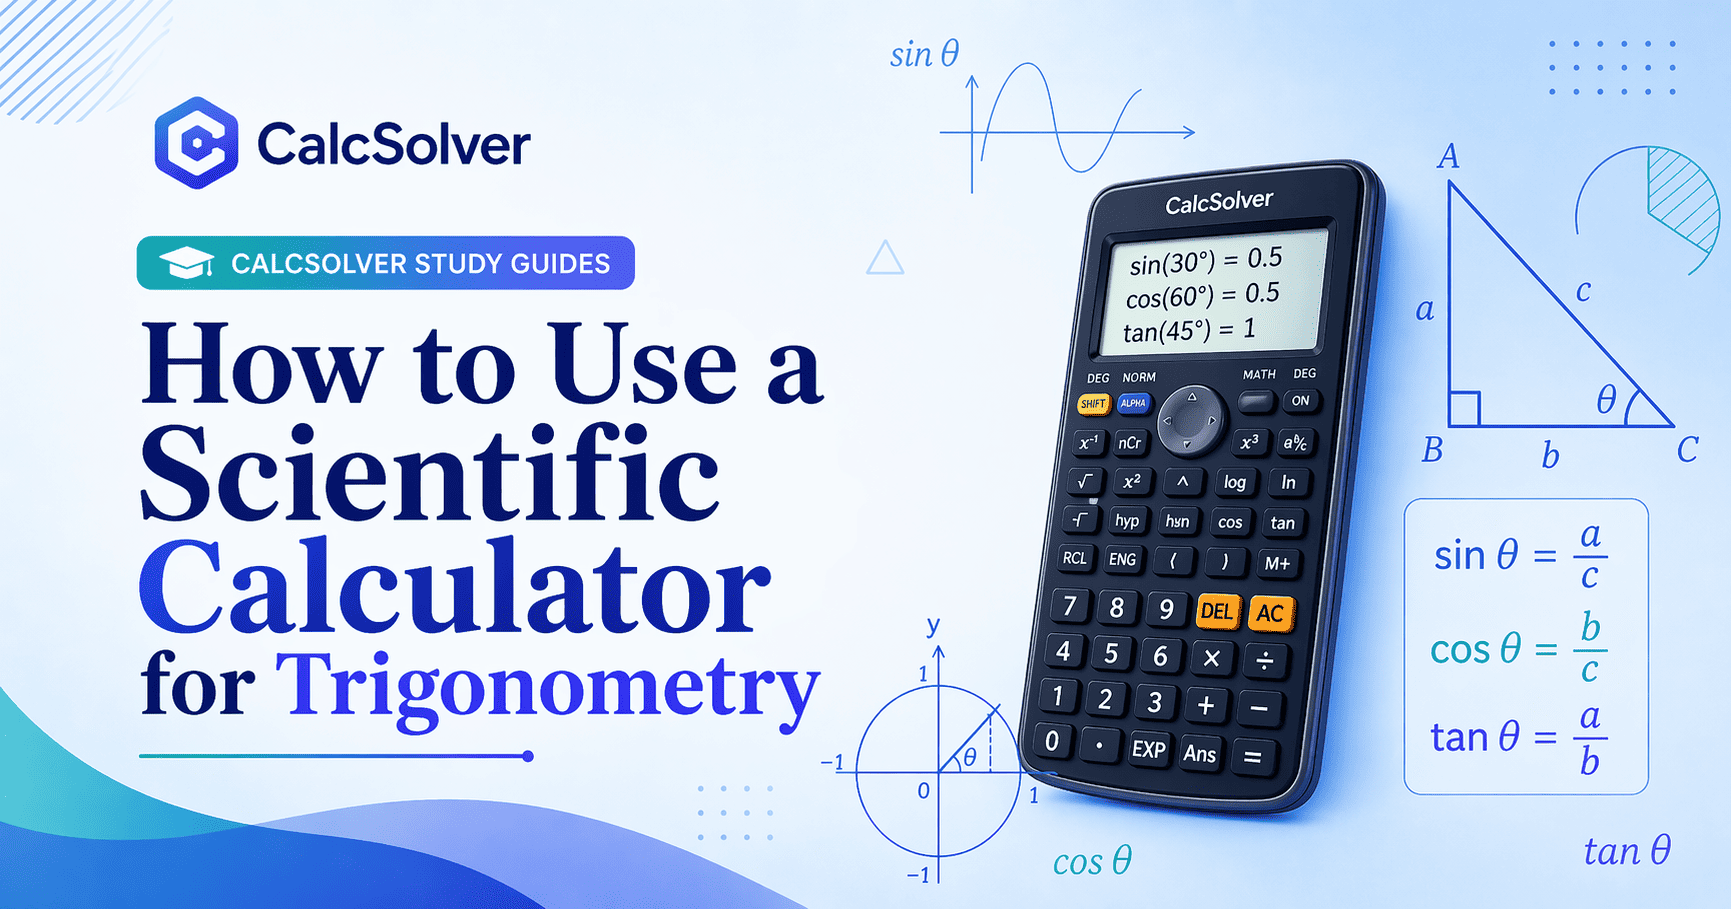
Example 1: In degree mode, sin(30) should return 0.5. This is one of the best calibration checks before doing any larger trig problem.
Example 2: In degree mode, cos(60) should also return 0.5. If it does not, the angle mode is almost certainly wrong.
Example 3: In degree mode, tan(45) should return 1. These three anchors together catch a large share of setup errors.
Example 4: If you need 2*sin(30), evaluate the trig part first or enter the whole expression carefully with multiplication included. The result should be 1. Students often forget the multiplication symbol when mixing coefficients and trig functions.
Example 5: If a problem says an angle is pi/6, that usually signals radians. In radian mode, sin(pi/6) is 0.5. This is a good example of how notation, not just the calculator screen, tells you what mode to use.
Example 6: Suppose a right triangle has hypotenuse 12 and angle 35 degrees, and you need the opposite side. The setup is 12 * sin(35). The calculator handles the numeric evaluation, but the trig choice comes from the geometry.
Common Mistakes
The most common error is wrong angle mode. The second is forgetting that radians and degrees are different representations of angle, not different trig functions. Another common issue is omitting parentheses or multiplication when embedding trig inside a longer expression.
Students also over-trust decimal outputs. A long decimal is not proof of correctness. If a familiar trig anchor value looks wrong, the mode or input should be checked before anything else.
Another mistake is failing to think about sign and size. In many classroom problems, sin and cos values should stay between -1 and 1. If you get a value outside a reasonable range in the wrong part of a problem, that should trigger a review of the setup rather than blind trust.
FAQ
When should I use degrees?
Use degrees for many geometry and introductory trig problems unless the class or problem explicitly says radians.
When should I use radians?
Use radians in many higher-level math settings, especially when the problem includes pi-based angles or calculus context.
How can I quickly check whether the calculator is set correctly?
Try a known value such as sin(30) in degree mode or sin(pi/6) in radian mode.
Difference from Nearby Tools
Use the Scientific Calculator for direct trig evaluation. Use log vs ln when the issue is logarithms rather than angle functions. Use the Algebra page when trig appears as part of a broader expression-evaluation workflow. This article is about the decision process around trig input, not just where to click.
Study Advice
Build a short list of trig anchor checks and use them every time you start a new session. That small routine saves many lost points. It also helps to write the angle unit next to the problem while working. Students who explicitly track "deg" or "rad" tend to make far fewer calculator errors.
The best trig-calculator habit is to separate the process into three stages: choose the ratio from the geometry, confirm the angle unit, and only then calculate. That order keeps the calculator in its proper role. It is a tool for execution, not a substitute for trig reasoning.
Applied learning context
How this topic appears in real coursework
In real classes, this topic usually appears inside mixed assignments instead of in isolation. Students may need to combine definitions, formulas, and interpretation in a single response, which is why practicing only one template answer is often not enough. A stronger routine is to check what the question is really asking, identify the required variables, then map the setup to the correct method before calculating.
Common reasoning traps and how to prevent them
The most frequent mistakes happen before arithmetic starts: reading symbols too quickly, mixing units, applying the wrong formula, or skipping assumptions. To avoid this, write a short pre-check line for each problem: identify known values, unknown values, constraints, and expected answer size. This one-minute habit prevents many avoidable errors and improves final answer quality more than repeated button pressing.
How to self-verify before submitting answers
After solving, verify by estimation and by method. Estimation checks whether the result is in a plausible range. Method checks whether each step still matches the original question intent. If either check fails, revise the setup first instead of retyping numbers. This approach builds transferable problem-solving skill, not just short-term answer accuracy.